


One of my favorite things to do is go thrifting! One day when I was at a thrift store I saw this blue and yellow boy bike for $6. It was rusted and its tires were completely flat, but it caught my eye. My daughter was three years old at the time and she didn’t have a bike. Brand new kid’s bikes go for around $100-200 in my area and at the time we couldn’t really afford that. I purchased the $6 bike, in hopes that nothing was seriously wrong with it. When I got it home my husband put some air in the tires and I gave it a quick wipe down. We purchased a princess helmet for it and let my daughter sit on it. She was so happy about having a bike! After she started riding around on it, I noticed that it needed to be adjusted and the pedals were stiff with rust.


Later that night I got online and ordered some spray paint, as well as some inexpensive accessories to make it more of my daughter’s style. When the supplies came in, I lightly sanded the areas I wanted to paint. Instead of taking the bike apart, I wrapped some plastic grocery bags around the wheels, training wheels, seat and rubber handles. I used painters tape to secure the plastic bags, as well as tape off any part of the bike I didn’t want paint on. I also taped the chain of the bike so I wouldn’t get any paint on that either. This part took the longest. I am not really familiar with taking apart bikes and putting them back together so this was the easiest method for me.
I followed the instructions on the can of paint, and did 3 coats. I let each coat dry for 24 hours in-between. My paint job was far from perfect but I was really happy with it so far! After the final coat of paint dried, I peeled all the tape and plastic off and put the accessories on. With only about $26 invested into this bike, I was so happy with how it came out.


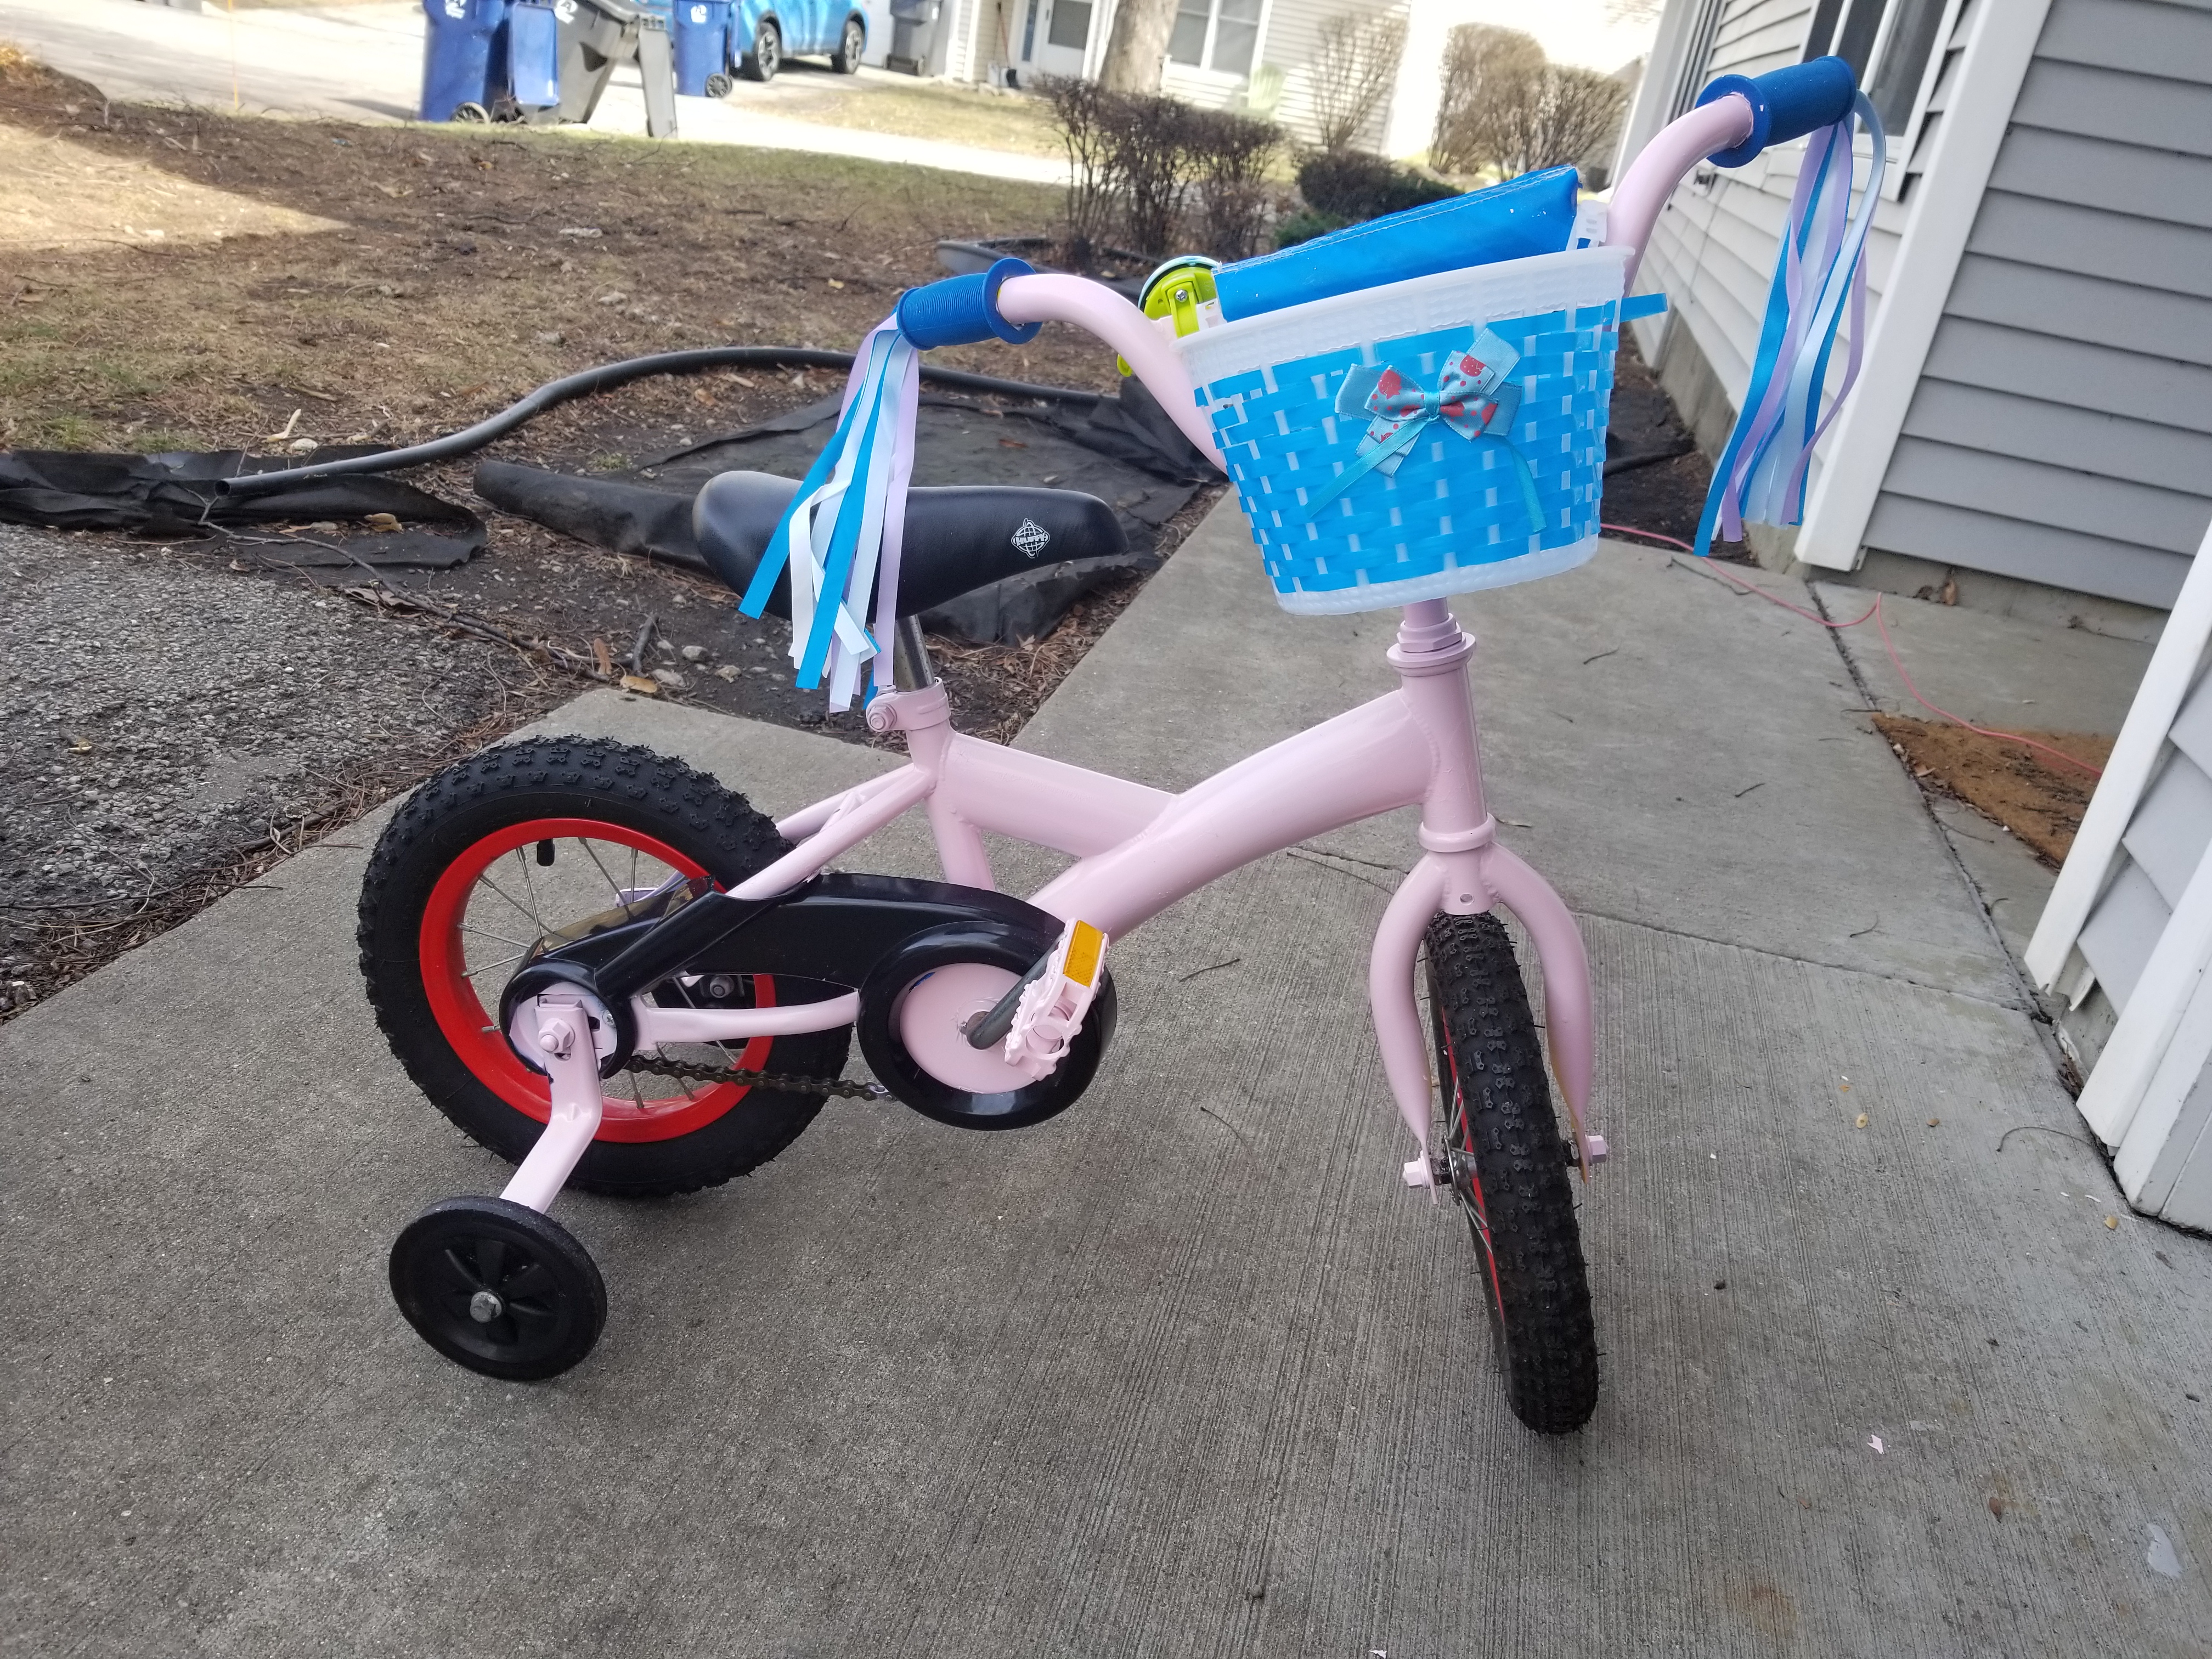
As you can see, I left some parts of the original bike the same as it was. I really only painted the main frame of the bike and a part of the training wheels, but it really got a total transformation.
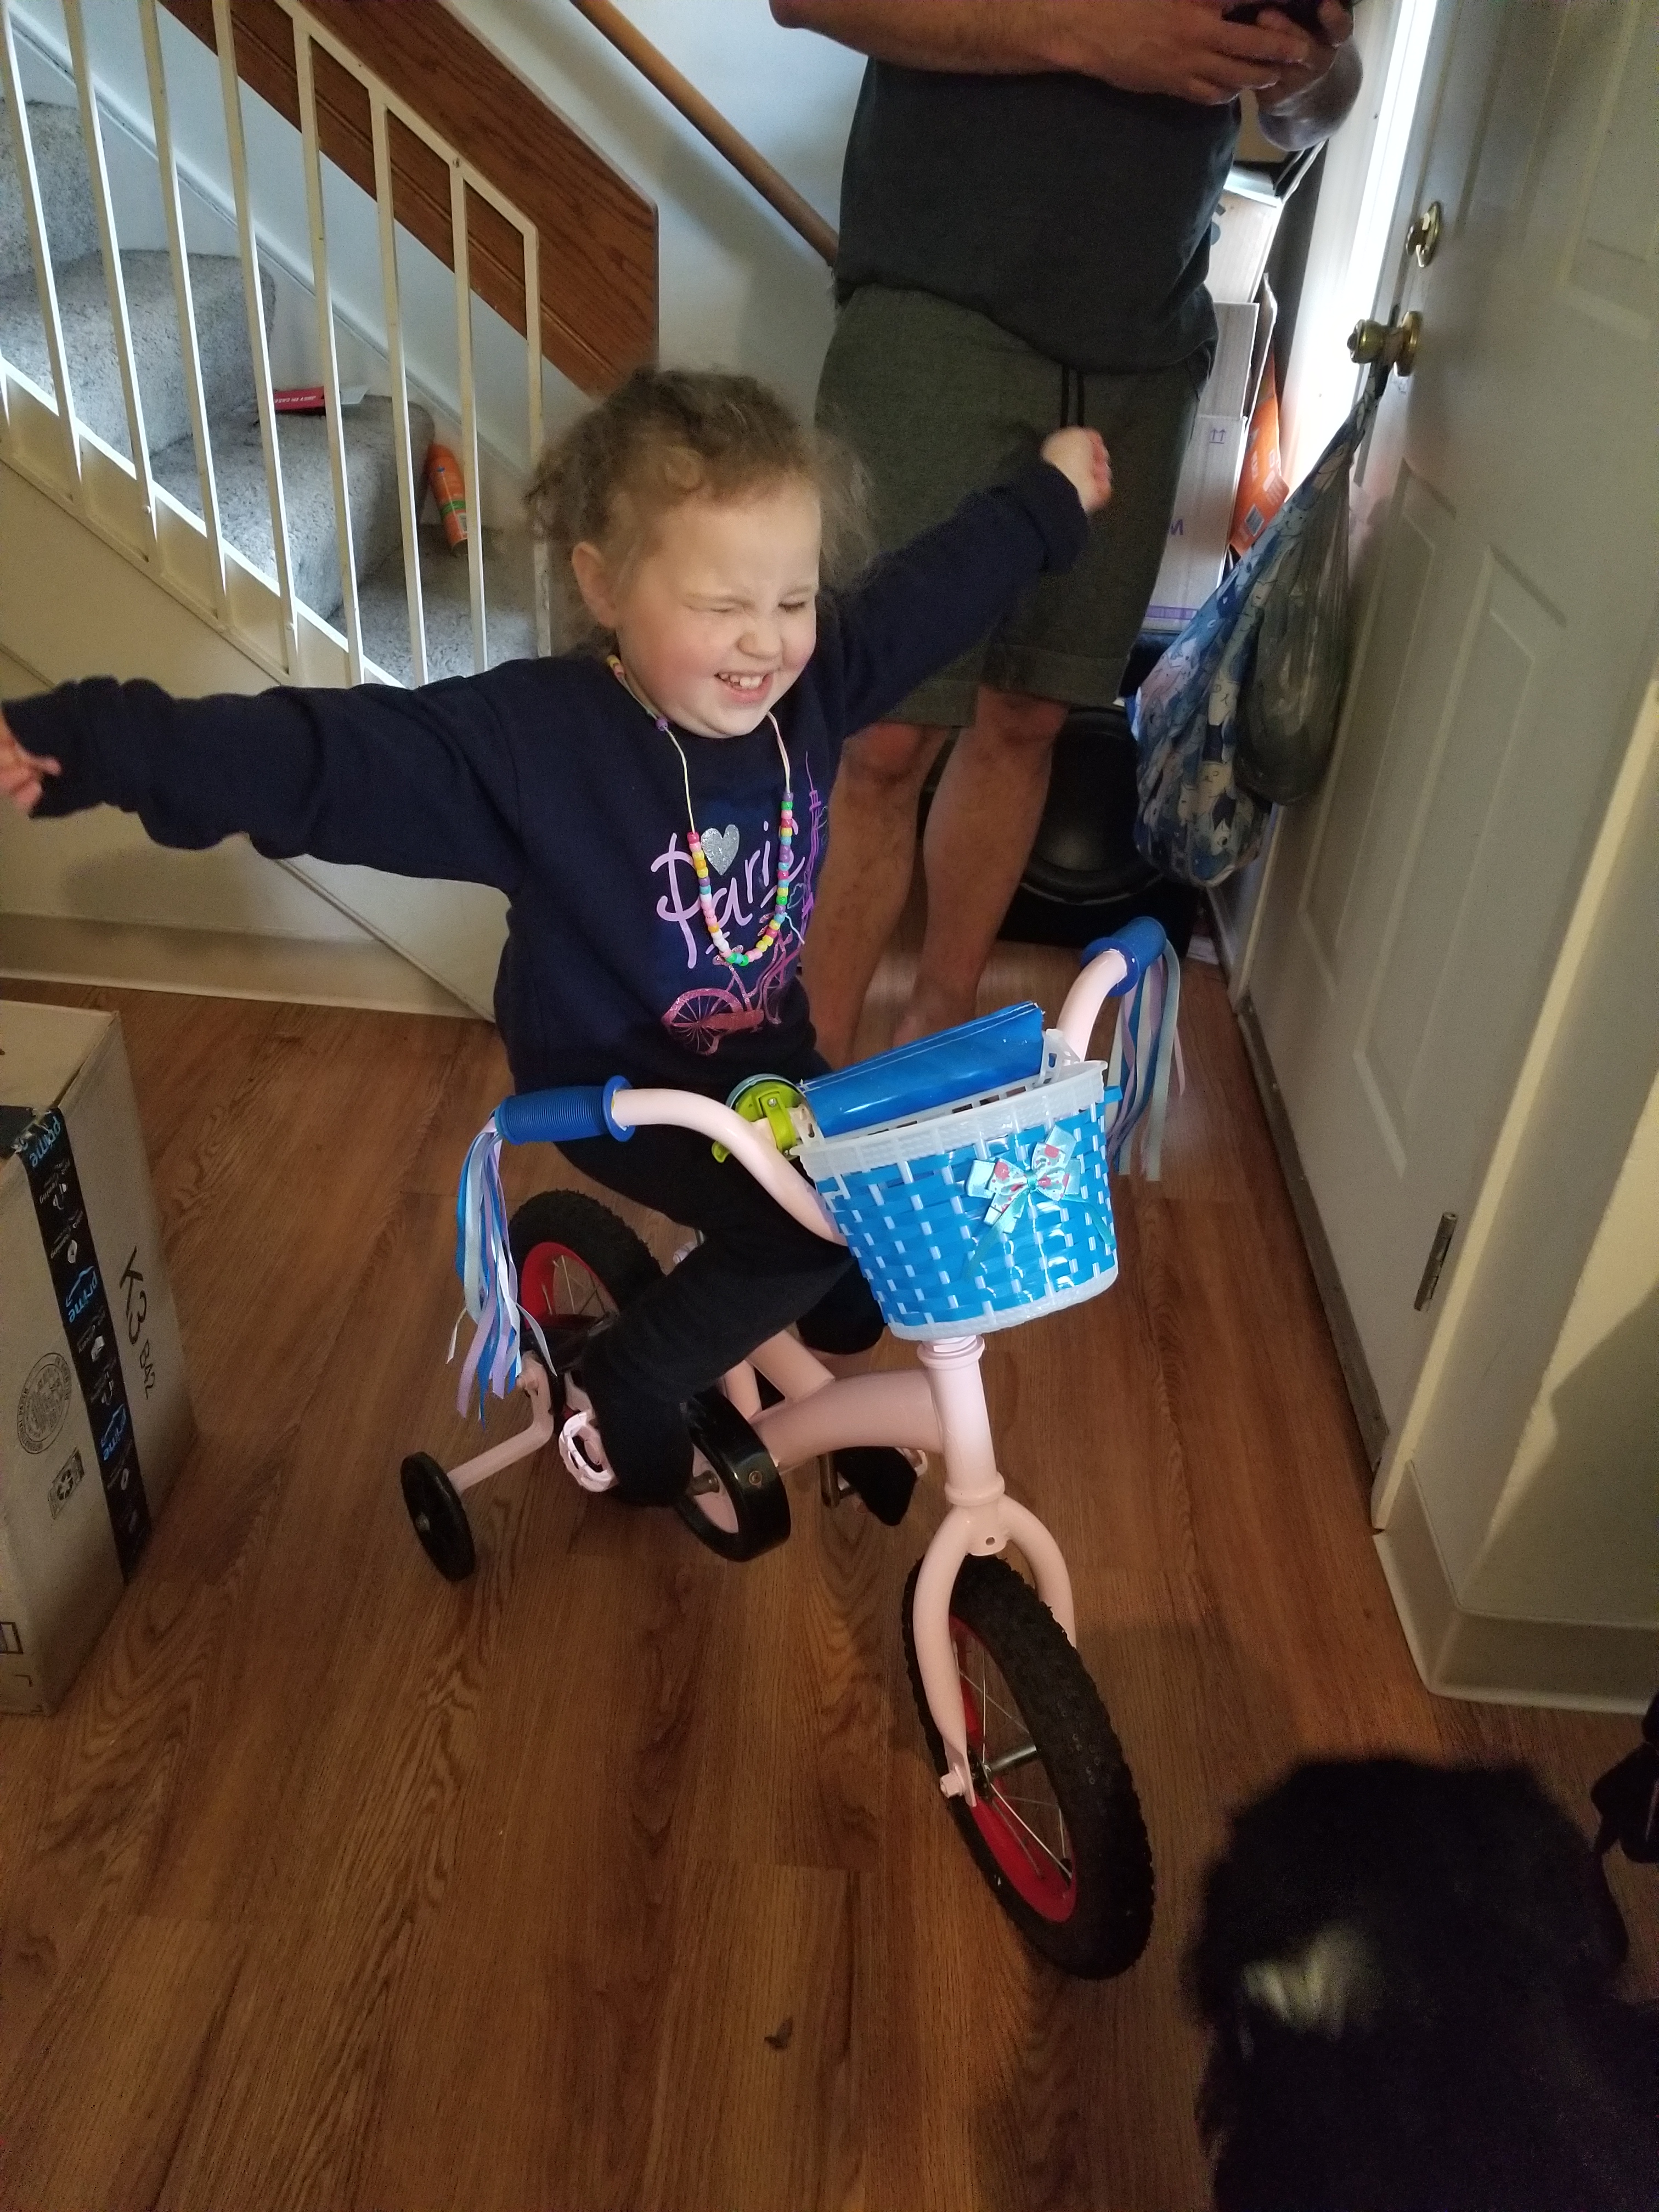
My daughter was SO happy with her new bike! After finding the perfect seat and handle bar adjustments, she spend the whole summer riding it around our cul-de-sac. This just goes to show that you do not have to have loads of skills and talents to do your own DIY project like this! Trust yourself and go slow, be sure to follow the directions on the paint you use, and put your heart into it. What could go wrong?

Sweet
LikeLike